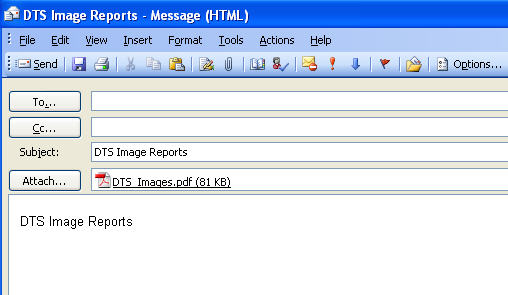
Emailing Images as PDF Files
To email images as PDF file, do the following:
1. Select the image(s) to e-mail by:
-
Click in the Radio Box for EMail.
-
Filling in the Order, Title Officer and Comment Fields is optional and mainly used to recognize printouts.
-
The Include Cover Page Box is optional and also mainly used to recognize printouts.
-
The Print Radio Box will print to any connected printer.
-
The Save to Disk... Radio Box will save the image file to your computer.
-
Click on the OK  Button.
-
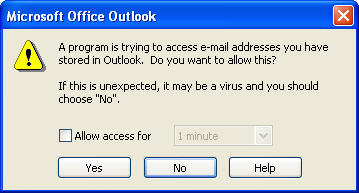
If you are using Microsoft Outlook® for your e-mails then the following Microsoft Office Outlook Dialog Box will display.
Note: The system can take some time to create the document, depending upon the number of images you are e-mailing. While the system is creating the PDF document, you will see your file in the folder where the document is being created. If you click on this file before the system has finished creating it, it will not open, the system will tell you that it is in use. When the system is finished creating the file, you will see the message "Image Save: your file name" in the gray bar at the bottom of the DTS 2.0 system window.
You can perform searches in DTS while the document is being created.
When opening the PDF file, you will first see the imaging cover page, if you checked this box. To view the documents, you may use the scroll bar or the page up/page down keys. At the bottom of each page that contains an image, the County, state, document name and number of pages is displayed in blue. The top of each page will contain the Order Number, Title Officer and Comment, if they were entered in the Imaging Comment Dialogue Box.